3 .29 Using BASIC and Perl Scripts
• The wavecompare command can be used to compare two waveforms in the batch mode in the same manner as in the waveform window. The signals that are being compared can be from two different files.
Example: If you type in the console window:
wavecompare C:\My_Designs\Samples\Freq_meter\src\time.awf C:\My_Designs\Samples\Freq_meter\src\functional.awf
it will compare these two waveforms.
• vsimsado macro command runs the converter and translates the specified Active-HDL macro file to the VSimSA or Riviera format.
Syntax: vsimsado [options] <adf_filename> [<do_macro> [-o <filename>] ]
3.30 Interfacing External Tools
Active-HDL allows you to call external tools from within the environment. You can either create a new icon in the Tools menu for any executable file or call it directly from the Console window.
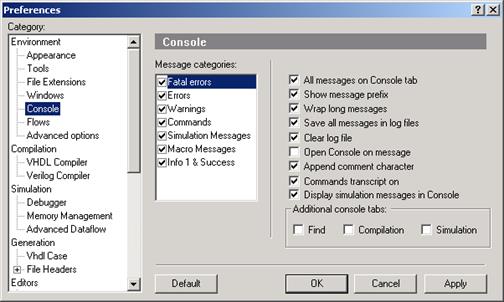
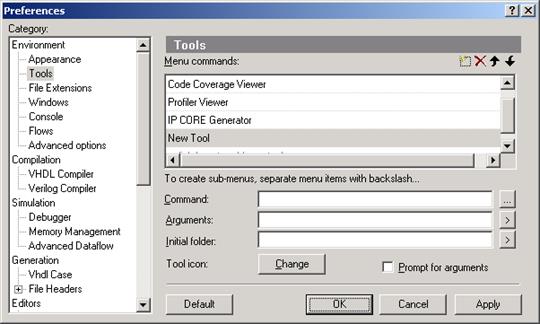
• To set up a new icon in the Tools menu open the Preferences window and select the Tool category.
• Type the name for the program.
• Navigate to the folder where the executable file is located.
• Accept clicking the Apply or OK buttons.
3.31 Interfacing External Tools
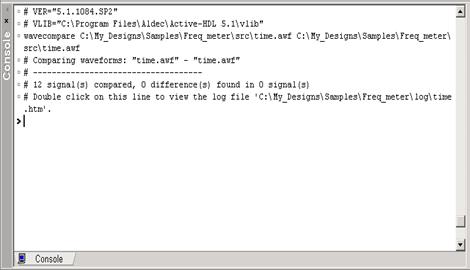
• To call an executable file from the Console window, use the runexe macro command file with the following syntax
runexe file_name
where the file_name is the name of the external program.
3.32 Using IP Cores
With IP core modules obtained from various providers, you can build your design faster and with less effort. IP cores usually come in the form of HDL code or EDIF netlist files. The following steps must be taken to utilize an IP core module:
1.
Set up a new design or
open an
existing one.
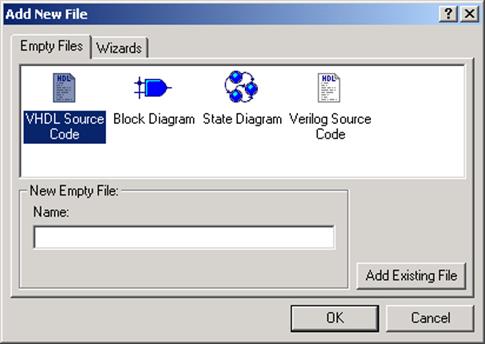
2. Use the Add New File wizard.
3.
Select the Empty
file tab and
click the Add existing file button.
4.
Navigate to the folder
with the
IP core file. Click its name.
5. Accept it by clicking the Add button.
6.
Instantiate the IP core
to use it in
the current project.
Note: The remaining steps are identical with the typical design development process. See Course 1 and 2.
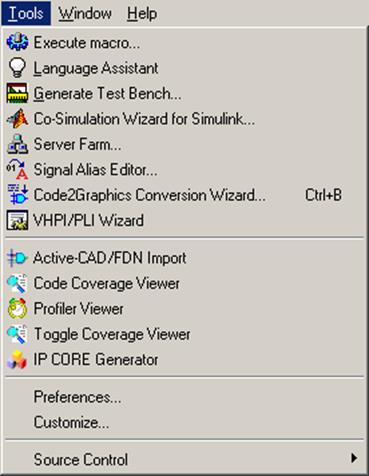
3.33 Using IP Cores
IP Cores can be also added to your design by using IP CORE Generator tool from the Tool menu.
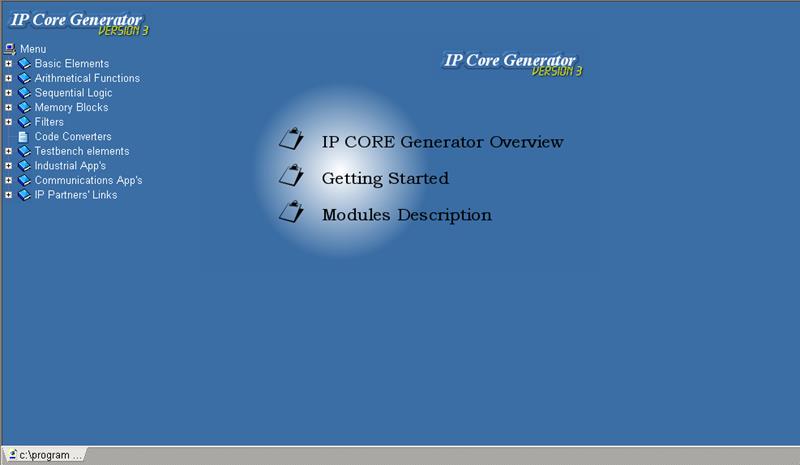
3.34 Using IP Cores
The IP CORE Generator allows you to generate fully synthesizeable and optimized VHDL or Verilog models.
model name
 |
element type HDL language
 |

![]()
![]()

![]()
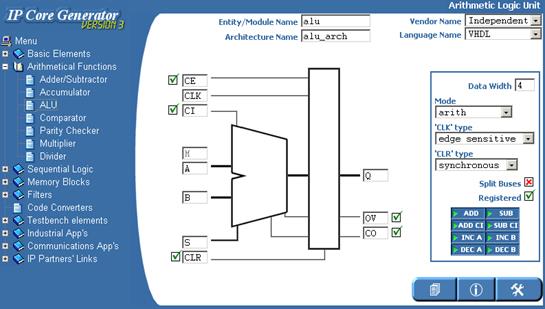 model configuration
disable/enable port toggle polarity the Generate button
3.35 Using Source Control
Source Control enables communication between Active-HDL and external Source Revision Control systems.
However, there are options that can be used or invoked from the Source Revision Control system only. To use such features, you do not need to leave the Active-HDL simulator to run your Source Revision Control tool. You can use the Source Control Manager option from the Tools|Source Control menu.
This option invokes your currently initialized Source Revision Control system directly from the Active-HDL environment.
3.36 Using Source Control
First, initialize your source control service in Active-HDL
• Open the Preferences window from the Tool menu
• Select the Setup category
• Initialize the Source Control Provider
3.37 Using Source Control
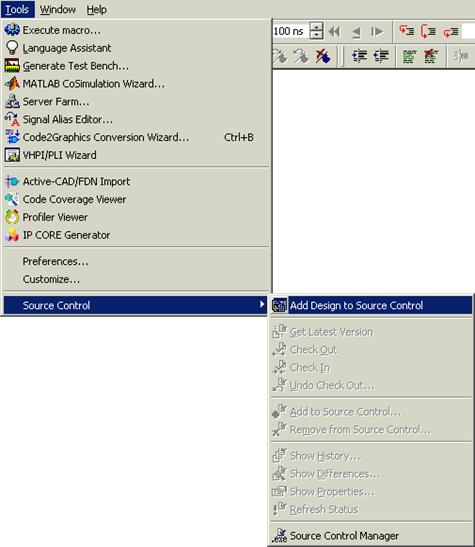
Now you can add your design to Source Control Environment.
• Open the Source Control submenu from the Tool menu
• Select the Add Design to Source Control option
3.38 Using Source Control
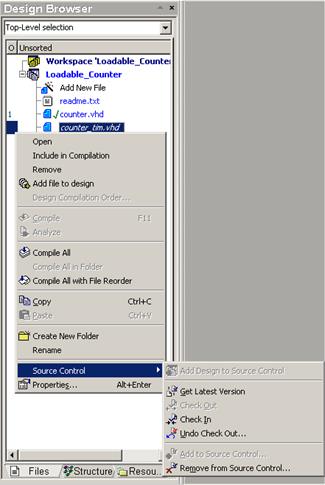
Now the Source Control submenu is available when you right-click on any file in your design.
You can easily:
• Check-in or check-out a file
• Undo changes made after the last check-out
• Get the last version of file
Уважаемый посетитель!
Чтобы распечатать файл, скачайте его (в формате Word).
Ссылка на скачивание - внизу страницы.