Any type of data can be entered into the Value(s) column. When the user clicks OK to close the dialog, if any value specified is the wrong data type for the selected field, or if an invalid field name is referenced, the following message will be displayed:
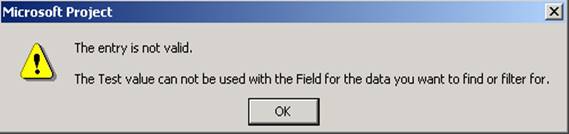
Figure 20 - Entry is not valid
When the user clicks OK, they are returned to the Graphical Indicators dialog with the focus on the first cell in the Value(s) column that contains a problem.
Image: Clicking on a cell in the Image column enables a drop-down list containing all of the available graphical images. Examples of available images include traffic lights, circles, flags, checkmarks, boxes, plus and minus signs, and miscellaneous other images; most of the images are available in multiple colors. The topmost item in the list is a blank entry, allowing the user to explicitly map a set of criteria to display no indicator.
When graphical indicators are displayed in a field, the behavior is governed by the following rules:
n Graphical indicators are aligned based on the column alignment (left, center, or right) specified in the Align data option of the Column Definition dialog.
n Any data contained in the field is not displayed and is replaced by the appropriate indicator (except when editing an item). If the field contains a value that is not covered by any indicator test, the cell will display as blank.
n If “Show data values in ToolTips” is enabled in the Graphical Indicators dialog, the data value contained in the cell will be displayed as a ToolTip when the user hovers the mouse pointer over the cell.
n If a cell with an indicator is selected and the cell is not read-only, the indicator disappears and the underlying data is displayed in the cell and in the Entry Bar; also, if there is a value list associated with the field, the drop-down pick list will become available.
n If indicator ToolTips are enabled, the ToolTip is not displayed while the data is showing in the cell.
n If a read-only cell is selected, the indicator is always displayed and the Entry Bar always remains blank.
Formulas provide the user with the ability to perform custom calculations on project data and display the result in a custom field. Formulas cannot be defined for predefined fields.
Formulas are specified at the field level, so only a single formula can be applied to all instances of a given custom field; formulas cannot be specified for individual cells. Formulas may reference other fields in the same task, but not from other tasks. Any custom field with a formula assigned becomes a read-only field, and cannot be edited by the user, except by modifying or removing the underlying formula.
The Formula command button in the Customize Fields dialog opens the Formula dialog shown below, with the selected field name (or renamed alias) as part of the dialog title:
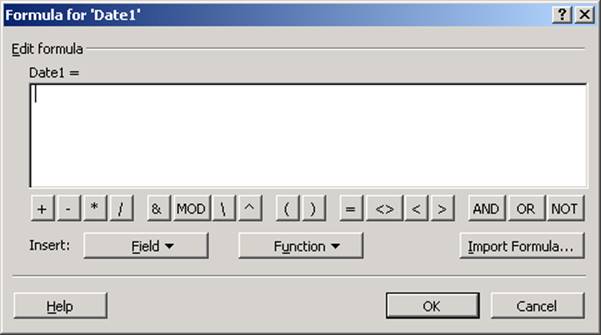
Figure 21 - Custom Formulas
A description of each of the items in the dialog follows.
Edit formula: A text box where the user can type in a formula or use the associated controls to select fields or Microsoft® Visual Basic® for Applications (VBA) functions from a list.
The maximum length of a formula displayed in the edit box cannot exceed 1024 characters. However, the internal limit is set to 10K to allow for changes in the length of field names (for instance, when custom fields are renamed by the user). This allows for changes in field names, with out causing the formula to stop functioning correctly.
If field names referenced by a formula have been lengthened to the extent that they exceed the 1024-character display limit, when the user attempts to open the Formula dialog in order to modify the formula the following message will be displayed:
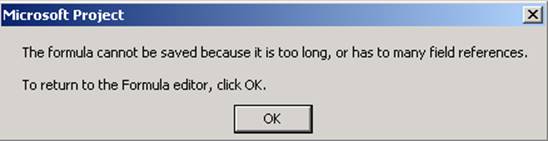
Figure 22 - Maximum length of formula
Уважаемый посетитель!
Чтобы распечатать файл, скачайте его (в формате Word).
Ссылка на скачивание - внизу страницы.