|
|
|
|
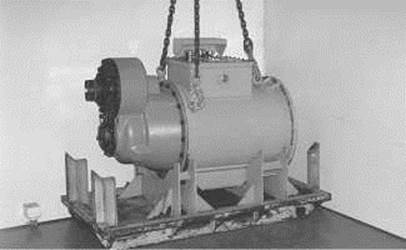
View Image
|
|
|
|
|
|
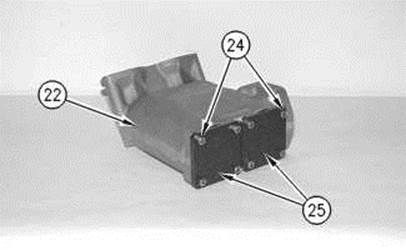
Illustration 114 |
g00530675 |
Note: Apply 7M-7260 Liquid Gasket to baffle (41) prior to installation.
|
|
|
|
View Image
|
|
|
|
|
|
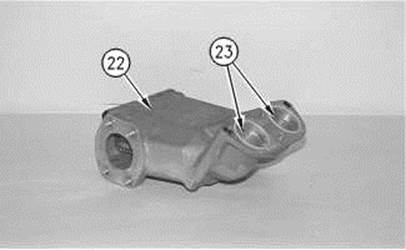
Illustration 115 |
g00533475 |
|
|
|
|
View Image
|
|
|
|
|
|
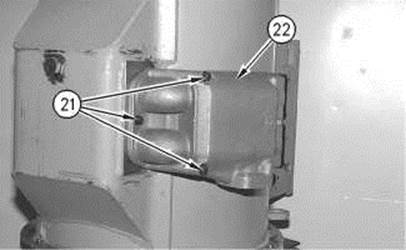
Illustration 116 |
g00534068 |
|
|
|
|
View Image
|
|
|
|
|
|
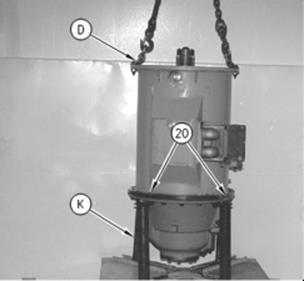
Illustration 117 |
g00533549 |
|
|
|
|
View Image
|
|
|
|
|
|
Illustration 118 |
g00533565 |
|
|
|
|
View Image
|
|
|
|
|
|
Illustration 119 |
g00530666 |
|
|
|
|
View Image
|
|
|
|
|
|
Illustration 120 |
g00530663 |
|
|
|
|
View Image
|
|
|
|
|
|
Illustration 121 |
g00530662 |
|
|
|
|
View Image
|
|
|
|
|
|
Illustration 122 |
g00530660 |
|
|
|
|
View Image
|
|
|
|
|
|
Illustration 123 |
g00530659 |
|
|
|
|
View Image
|
|
|
|
|
|
Illustration 124 |
g00530634 |
|
|
|
|
View Image
|
|
|
|
|
|
Illustration 125 |
g00530632 |
|
|
|
|
View Image
|
|
|
|
|
|
Illustration 126 |
g00533598 |
|
|
|
|
View Image
|
|
|
|
|
|
Illustration 127 |
g00530327 |
Уважаемый посетитель!
Чтобы распечатать файл, скачайте его (в формате Word).
Ссылка на скачивание - внизу страницы.