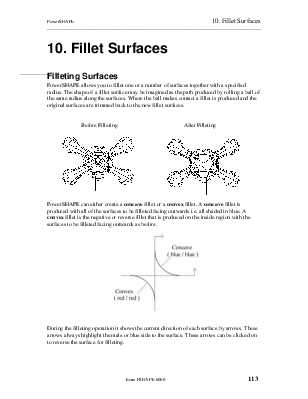
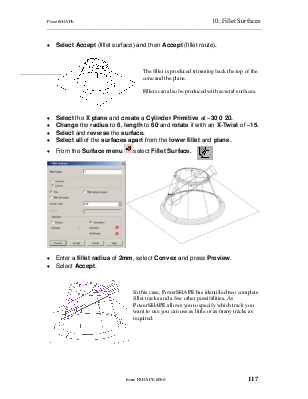
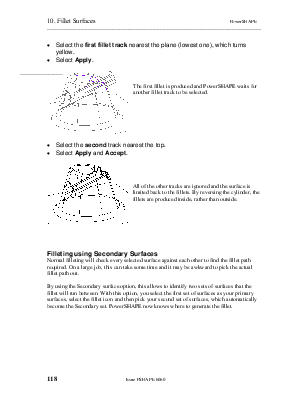
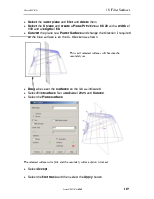
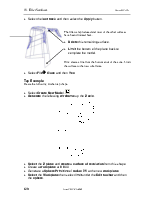
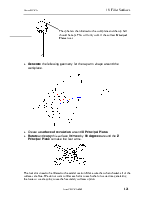
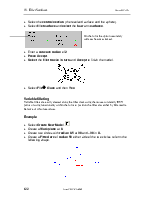
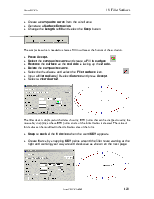
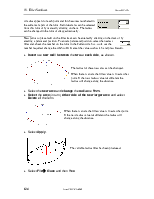
PowerSHAPE allows you to fillet one or a number of surfaces together with a specified radius. The shape of a fillet surface may be imagined as the path produced by rolling a ball of the same radius along the surfaces. Where the ball makes contact a fillet is produced and the original surfaces are trimmed back to the new fillet surfaces.
 |
 |
||
PowerSHAPE can either create a concave fillet or a convex fillet. A concave fillet is produced with all of the surfaces to be filleted facing outwards i.e. all shaded in blue. A convex fillet is the negative or reverse fillet that is produced on the inside region with the surfaces to be filleted facing outwards as before.

During the filleting operation it shows the current direction of each surface by arrows. These arrows always highlight the male or blue side to the surface. These arrows can be clicked on to reverse the surface for filleting.
This example goes through the basic filleting options.
· Create a Plane Primitive of length 100 and width 100 at 0 0 0.
· Create a Cone Primitive of base radius 30, top radius 15 and length 50 at 0 0 0.
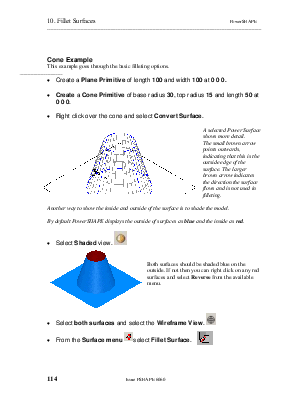
· Right click over the cone and select Convert Surface.
 A selected Power Surface shows more detail.
The small brown arrow points outwards, indicating that this is the outside edge of the surface. The larger brown arrow indicates the direction the surface flows and is not used in filleting.
Another way to show the inside and outside of the surface is to shade the model.
By default PowerSHAPE displays the outside of surfaces as blue and the inside as red.
· Select Shaded view. ![]()

Both surfaces should be shaded blue on the outside. If not then you can right click on any red surfaces and select Reverse from the available menu.
· Select both surfaces and select the Wireframe View. ![]()
![]()
· From the Surface menu ![]() select Fillet Surface.
select Fillet Surface.
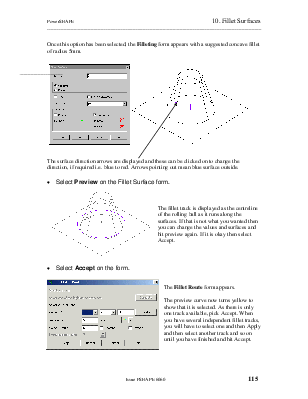
Once this option has been selected, the Filleting form appears with a suggested concave fillet of radius 5mm.
 |
 |
The surface direction arrows are displayed and these can be clicked on to change the direction, if required i.e. blue to red. Arrows pointing out mean blue surface outside.
· Select Preview on the Fillet Surface form.

The fillet track is displayed as the centreline of the rolling ball as it runs along the surfaces. If that is not what you wanted then you can change the values and surfaces and hit preview again. If it is okay then select Accept.
· Select Accept on the form.

The Fillet Route form appears.
The preview curve now turns yellow to show that it is selected. As there is only one track available, pick Accept. When you have several independent fillet tracks, you will have to select one and then Apply and then select another track and so on until you have finished and hit Accept.
· Select Accept off the form.

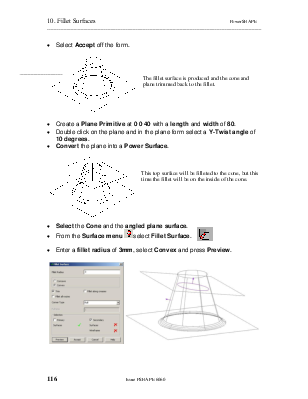
The fillet surface is produced and the cone and plane trimmed back to the fillet.
· Create a Plane Primitive at 0 0 40 with a length and width of 80.
· Double click on the plane and in the plane form select a Y-Twist angle of 10 degrees.
· Convert the plane into a Power Surface.

This top surface will be filleted to the cone, but this time the fillet will be on the inside of the cone.
· Select the Cone and the angled plane surface.
· From the Surface menu ![]() select Fillet Surface.
select Fillet Surface.
![]()
· Enter a fillet radius of 3mm, select Convex and press Preview.

· Select Accept (fillet surface) and then Accept (fillet route).

The fillet is produced trimming back the top of the cone and the plane.
Fillets can also be produced with several surfaces.
· Select the X plane and create a Cylinder Primitive at –30 0 20.
· Change the radius to 6, length to 60 and rotate it with an X-Twist of –15.
· Select and reverse the surface.
· Select all of the surfaces apart from the lower fillet and plane.
· ![]() From the Surface menu
From the Surface menu ![]() select Fillet
Surface.
select Fillet
Surface.

· Enter a fillet radius of 2mm, select Convex and press Preview.
· Select Accept.

In this case, PowerSHAPE has identified two complete fillet tracks and a few other possibilities. As PowerSHAPE allows you to specify which track you want to use you can use as little or as many tracks as required.
· Select the first fillet track nearest the plane (lowest one), which turns yellow.
· Select Apply.

The first fillet is produced and PowerSHAPE waits for another fillet track to be selected.
· Select the second track nearest the top.
· Select Apply and Accept.

All of the other tracks are ignored and the surface is limited back to the fillets. By reversing the cylinder, the fillets are produced inside, rather than outside.
Normal filleting will check every selected surface against each other to find the fillet path required. On a large job, this can take some time and it may be awkward to pick the actual fillet path out.
By using the Secondary surface option, this allows to identify two sets of surfaces that the fillet will run between. With this option, you select the first set of surfaces as your primary surfaces, select the fillet icon and then pick your second set of surfaces, which automatically become the Secondary set. PowerSHAPE now knows where to generate the fillet.
Уважаемый посетитель!
Чтобы распечатать файл, скачайте его (в формате Word).
Ссылка на скачивание - внизу страницы.