Select the "Specify a location" option and click Next.

Figure 5 "Found New Hardware Wizard", Screen 4
The USB driver files are located in the subdirectory "USB_DRIVERS" within the directory TheCableAVR was installed to. The default location is:
C:\Program Files\Progressive Resources LLC\thecableavr\usb_drivers Click Browse to select the appropriate directory and click OK to continue. The window in figure 6 should appear.
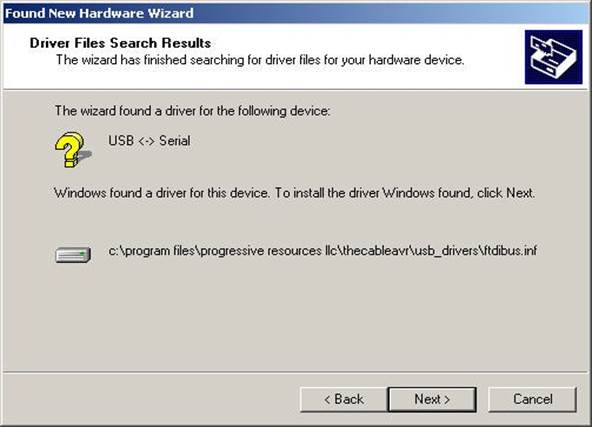
Figure 6 "Found New Hardware Wizard", Screen 5
Click Next to finish installing the drivers. Then click Finish on the final screen of the wizard to complete the installation of the first set of drivers. (Figure 7)
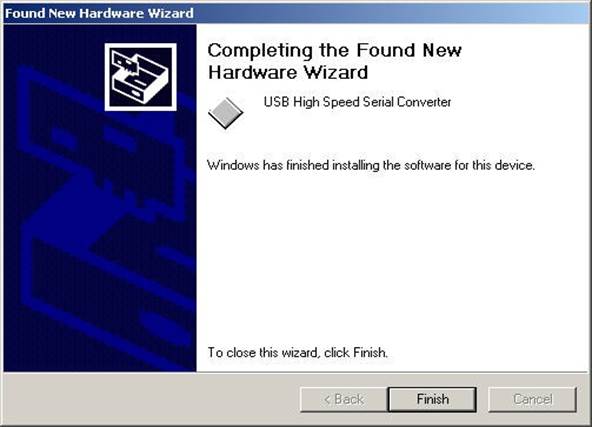
Figure 7 "Found New Hardware Wizard", Screen 6
After the first set of drivers are installed, the Found New Hardware Wizard will repeat the process for the second set of drivers. The second set of drivers should be installed following the same steps as the first set of drivers.
Consult your device manager to get the serial port number assigned to USB serial port.
Figure 8 shows a device manager where the USB serial port was assigned port number 3.
The USB serial port shows up in two places within the device manager, under the "Ports (COM & LPT)" listing as "USB Serial Port" and under the "Universal Serial Bus Controllers" listing as "USB High Speed Serial Converter".
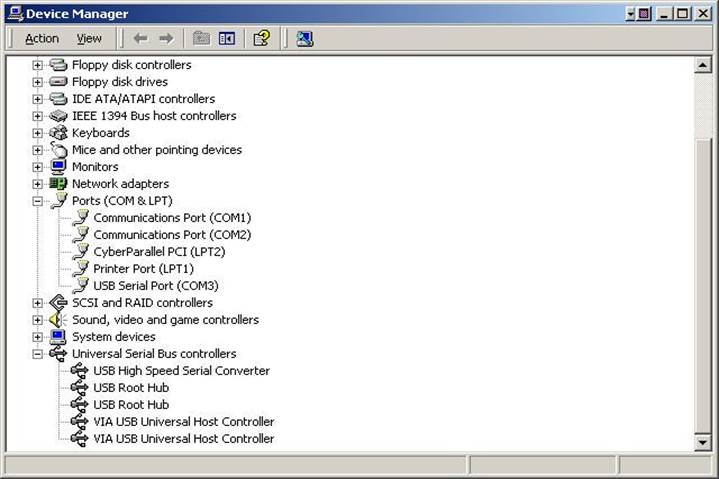
Figure 8 Device Manager Showing New USB Serial Port and USB Seril Converter
From FTDI, about their USB drivers:
Changing the COM Port Number
"With the release of V1.02.07, FTDI has introduced a properties sheet which allows the user to change the
COM port number of a USB serial port.
From DeviceManager, select "View devices by type", then "Ports (COM & LPT)". Select the USB serial
port and click Properties. Select the "Port Settings" tab, then click Advanced. Choose the required COM port number from the list and click OK.
Notes
If a modem is attached to the USB serial port when the port number is changed, it will continue to work under the new port number.
If a modem had been attached to the USB serial port but was not attached when the port number was
changed, it will not work when re-attached under the new port number. In this case, the modem must be removed from the system and re-installed.
In general, if there are devices in the system which have been attached previously to the USB serial port,
they may not work after the port number has been changed. If this is true, remove the device from the system and re-install it.
FTDI
5 July 2000"
- Plug TheCableAVR programmer into a serial port on the PC.
- Connect the IDC plug to the 10-pin IDC connector on the target board.
- Apply power to the target board. (TheCableAVR draws power from the target board.)
- Select Connection from the File pull-down menu in TheCableAVR software. In the pop-up window, select the appropriate COM port. Click OK to save the COM port selection and close the window.
To check the connection between the PC and the programming cable, open up the Connection pop-up window and click Check. If everything is connected correctly, a message pops-up, “TheCableAVR programming cable is correctly connected.”
If communication errors are encountered, make sure the target board is powered on (the power LED on the programmer should be lit.) Also, ensure that no other software or hardware is conflicting with or using the selected COM port.
TheCableAVR software allows the user to select the type of processor to be programmed, the areas(s) of the processor to program, and the security level to program. The software also allows the user to open and edit hex or binary files for the flash and/or data area of the processor to be programmed.
Уважаемый посетитель!
Чтобы распечатать файл, скачайте его (в формате Word).
Ссылка на скачивание - внизу страницы.