5. Create a linked report
· Add a new report to the project. Name it “Purchasing”
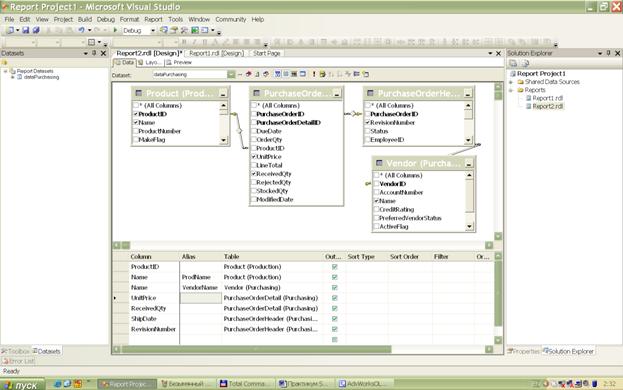
· Add a new dataset that relates to Purchasing (tables: Product, PurchaseOrderHeader, PurchaseOrderDetail, Vendor). Notice that appropriate relations are identified automatically from the database schema.
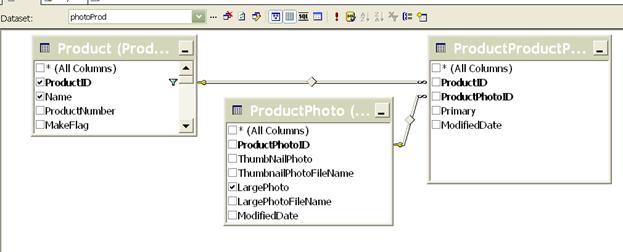
· Add another dataset to show the Product Photo (stored in database field). Add the following tables: Product, ProductPhoto, ProductProductPhoto
· Edit both datasets in SQL query mode. Add a filtering predicate
WHERE Production.Product.ProductID=@ProductID
By appending this line above to the end of each SQL query.
Tip: You can
edit SQL query by clicking ![]()
6. Create the linked report design
· Add a Table component and point the Dataset property to Purchasing data
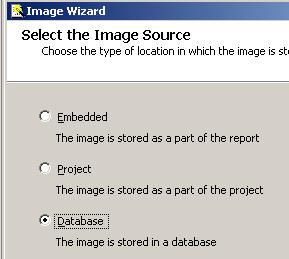
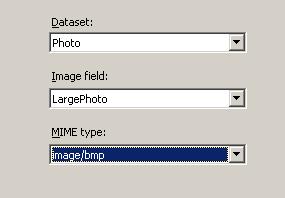
· Add an Image component and link it to Photo dataset
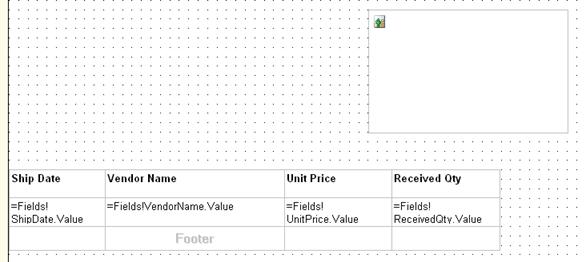
· Edit ShipDate cell properties. Set Format – dd/MM/yy, for other numeric columns set Format– n2 (sets 2 digits shown precision metric)
7. Save all
8. Create a link between Products report and Purchasing report
· Open the 1st report (named Products) and in Details section for the Product Name cell properties choose Actions editor
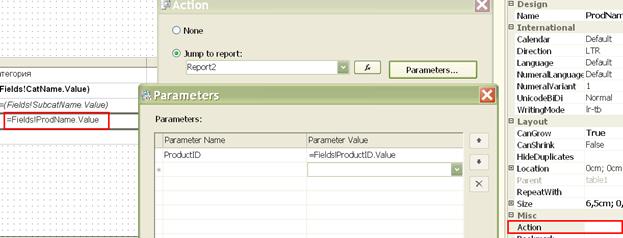
· Point the Purchasing report as “jump to” and link the report’s parameter to the ProductKey value of the current row.
9. Save all and launch preview for the Products report. Test the link showing up some linked data for Components \ Chains
10. Switch to the Purchasing report and add descending sorting for Ship date column.
Task № 2.3 action scenario
After completion: You will get an interactive organization structure report. Available for use in Human Resources department
1. Add a new report to the project
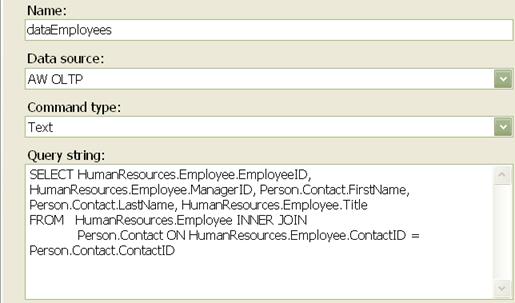
· Add a new dataset using previously created shared datasource. Use the visual query builder to create a Human resources data query
Tip: You don't need to type in the following query. Simply use the query designer to add tables Employee and Contact and choose the necessary fields by clicking the appropriate checkboxes
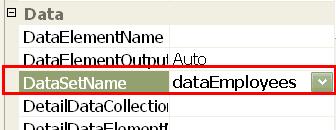
· Switch to Layout pane. Add a Table component. Link it to the dataset
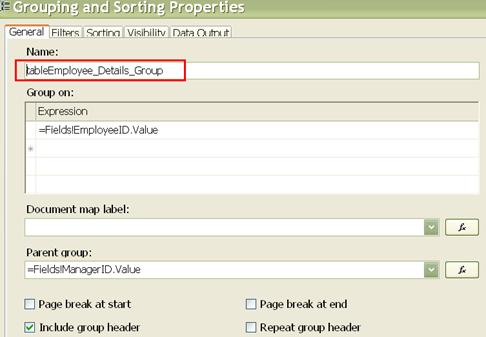
· Create a grouping named tableEmployee_Details_Group use EmployeeID as a key and ManagerID key for the Parent Group property.
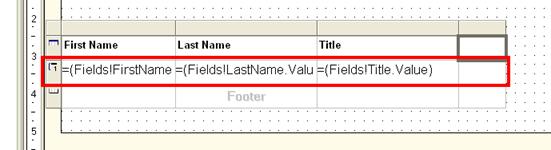
· Insert database fields into the grouping band of the table
· Save and preview the report
2. Add some Organizational Structure hierarchy appearance
· Add some incremental padding for nested subordinate level
· Check to whole grouping band and set Padding\Left =Level("tableEmployee_Details_Group") * 20 & "pt".
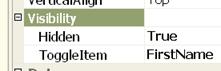
· Add collapse/expand functionality when user presses «+». In the grouping properties set
Уважаемый посетитель!
Чтобы распечатать файл, скачайте его (в формате Word).
Ссылка на скачивание - внизу страницы.