Where the split line is generated with an angle above or below 0 degrees, the resultant split surface edges on both the top and bottom may be miss-matched. PowerSHAPE increases the lower draft angle so the split surfaces edges match as shown.
· Select Create New Model. ![]()
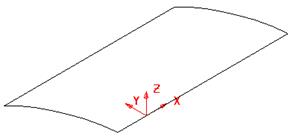
· Create a workplane at 0.
· Create a Three point arc using the following co-ordinates. ![]()
-15 10 4
-15 -10 10
-15 0 8
· Create an extruded surface along the X-axis of length of 50mm.
This extruded surface will be used to project a draft surface on, later in this example.
· Convert the surface (right click over it and select Convert Surface)
· Blank the surface and select a view from the top.
· Select the Z principle plane.
· Generate the following wireframe.
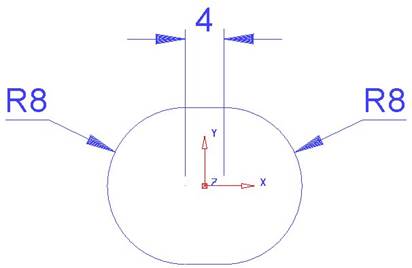
This section will be used to generate a draft surface.
· Create a composite curve and Move up in Z by 20mm.
· Select Unblank (Ctrl + L).
· ![]() Ensure the composite curve is selected.
Ensure the composite curve is selected.
· 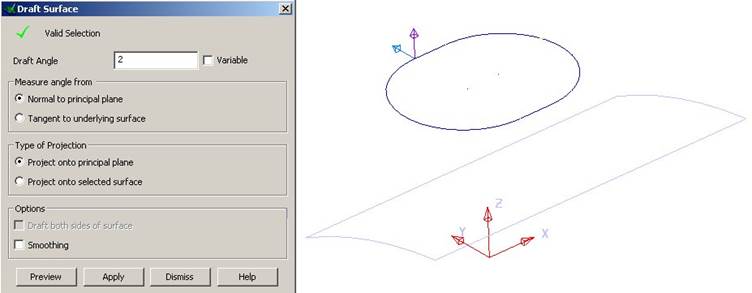 From the Surface menu, select Draft
Surface.
From the Surface menu, select Draft
Surface.
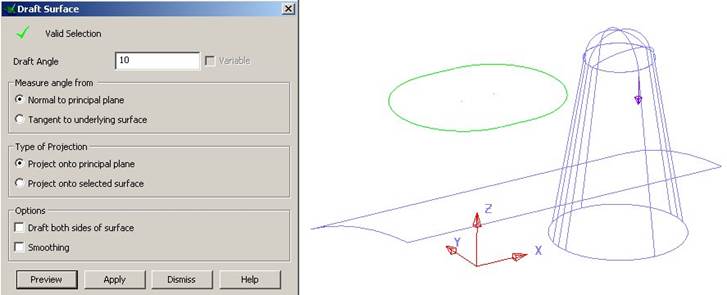
The Draft Surface form appears.
The Draft Angle box allows you to specify the taper angle of the surface to be produced. As with split surfaces, the direction in which the surface is created is determined by the two arrows drawn on the composite curve.
· Set the Draft Angle to 2 degrees.
· Change the arrows by clicking on them so they point down and outwards.
· Select Preview.
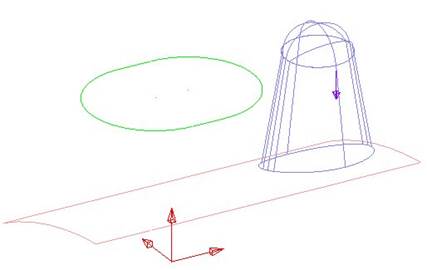
The draft surface is generated and projected onto the XY plane of the active workplane.
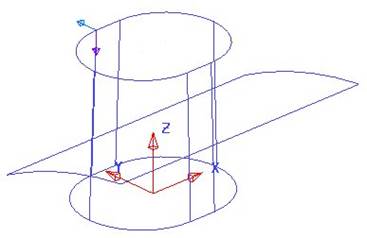
· Select the extruded surface.
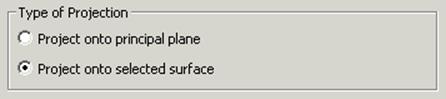
When selected the surface will appear pink, and the Split Surface option on the Draft Surface form will change to Project onto Selected Surface.
· Set the Draft Angle to 20 degrees, and set the projection arrows to inwards and downward.
· Select Preview.
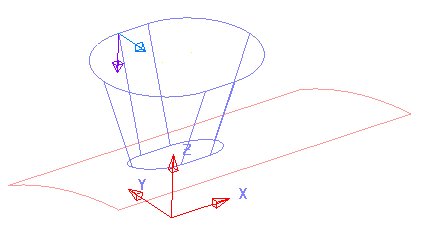
The draft surface is now projected onto the curved surface.
· Dismiss the form.
Draft surfaces can be created tangential to existing surfaces.
· Create a Primitive Sphere of radius 4 at X18 Y0 Z20.
· Right click over the Sphere and select Convert Surface.
· ![]() Select the sphere.
Select the sphere.
· From the Surface menu, select Draft Surface.
· Enter a draft angle of 10 degrees.
· With the arrow pointing downwards as shown select Preview.
The draft surface that would be produced is displayed.
· Select the Extruded surface and then press Preview.
A new draft surface that project onto the curved surface is generated.
· Select Apply and Dismiss the form.
There is the ability to generate a variable draft surface from a selected profile. The variable draft surface may not be always tangential to the original surface, as it has to generate the draft from a fixed defined profile.
· ![]() Select the composite
curve.
Select the composite
curve.
· From the Surface menu, select Draft Surface.
· Select the extruded surface and make sure that the arrows are pointing down and out.
·
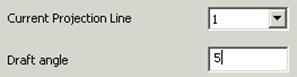
Enter a Draft Angle of 3. Tick
Variable. ![]()
· Press Apply.
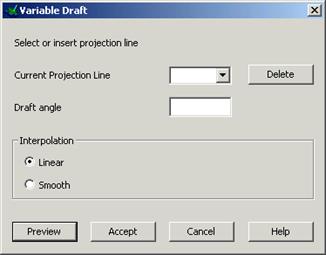
The variable draft form appears. This is an interactive command where lines to display the draft surface are generated by clicking on the draft curve. The draft angle is changed at these lines.
· Select a view down Z.
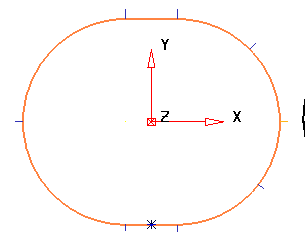
We will create a variable draft of 5 degrees along the sides and 6 degrees around the ends.
![]()
· Click 8 points around the draft curve as shown using the intelligent cursor to find End, Key and Mid Points.
You can change the draft angle for each of the numbered draft lines on the form.
· Set the left end projection lines to 6 degrees.
· Select Interpolation as Smooth select Preview and Accept.
· Dismiss the form.
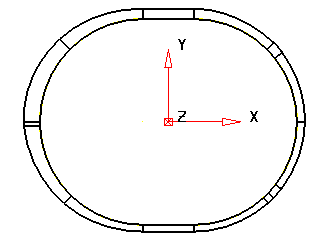
The draft surface is shown.
· Close the model without saving.
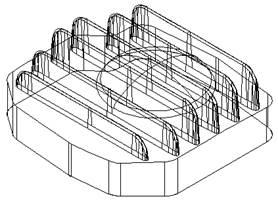
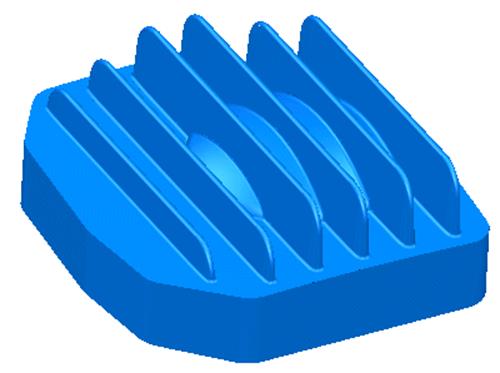
Using the pump example we can generate a draft surfaces for each of the ribs and then fillet the model together.
· Open the model pump-project2.
· Blank all wireframe.
·
 |
·
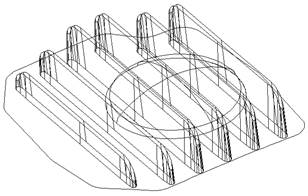 |
· Generate a fillet radius of 1 mm by selecting all the surfaces shown.
· Select Unblank and shade the finished model.
· Save and then Close the model.
Уважаемый посетитель!
Чтобы распечатать файл, скачайте его (в формате Word).
Ссылка на скачивание - внизу страницы.