§ Checks that the
Internet Information Services (IIS) is installed. If it is not installed, a
message will tell you to install the IIS before you continue
 To install the IIS, see section A.2.
§ Checks that .NET Framework is installed. If not, you will not be able to continue the installation before it is installed (see section A.3).
§ Start the Microsoft Business Solutions – Navision Smart Tag Integration Web Service setup program.
2. After the Welcome screen the Select Installation Address window appears:
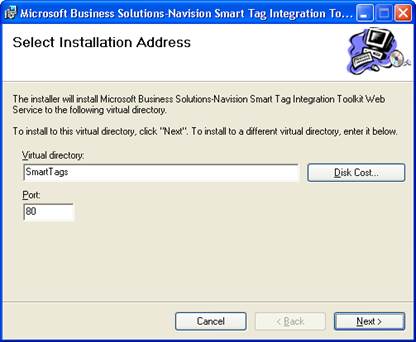
3. Enter the virtual folder where you want to install the Microsoft Business Solutions – Navision Smart Tag Toolkit, and specify which port you want to use for the Microsoft Business Solutions – Navision Smart Tag Toolkit web service as shown in the picture above.
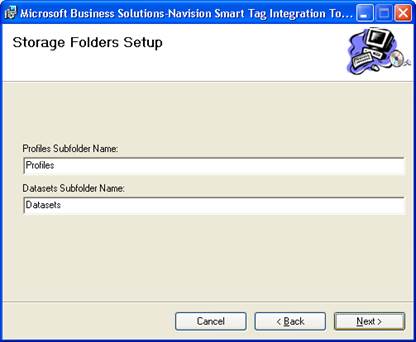
4. Click Next to open the Storage Folders Setup window.
5. The two Subfolder Name fields will be automatically filled with the names of the folders you will be using for your profile and dataset files.
6. Click Next to open the Confirm Installation window:
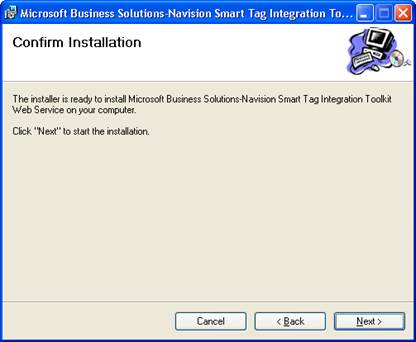
7. Click Next to install the Microsoft Business Solutions – Navision Smart Tag Toolkit Web Service.
8. A script automatically checks if the web service is runninng. If it is not running, the script will automatically reset the IIS in order to get the web service running.
9. If you installed IIS version 5.0, the script will automatically set the correct permissions for your Profiles and Datasets folders.
10.
If you installed IIS version 6.0, the script
will automatically set the correct permissions for your Profiles and Datasets
folders.
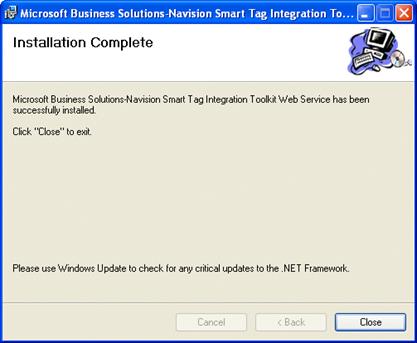
11. Click Close to complete the installation and exit the Install Wizard.
You have now installed the Smart Tag Integration Toolkit Web Service.
Note
Before you begin installing the Microsoft Business Solution – Navision Smart Tag Integration Toolkit client, you must close all Microsoft Office programs (Word, Outlook etc.)
1. Start the Microsoft Business Solution – Navision Smart Tag Integration Toolkit Client setup program. You can find the Microsoft Business Solutions – Navision Smart Tag Integration Toolkit client setup program in the Tools menu on the Microsoft Business Solutions – Navision Product 4.00 CD.
2. The installation process starts with a window informing you that the installation wizard has been initiated.
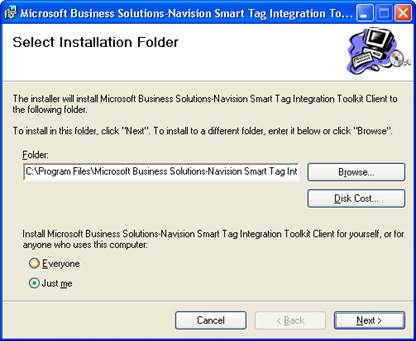
3. After the Welcome window, the Select Installation Folder window appears.
4. Choose Just me as the default options and click Next.
Note:
Accepting the default option Just me, means that the program saves the Profile.xml file cached at the client level. It should now be located in this folder: C:\Documents and Settings\Your LoginName\Local Settings\Application Data\Navision.
You can delete all the files in this folder. They will be downloaded again as soon as you start MS Office again.
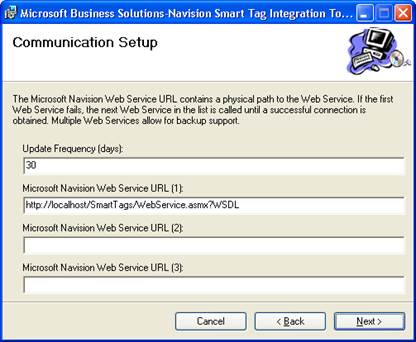
5. Click Next to open the Communication Setup window. Use the Update Frequency (days) field to determine how often the WSDL file will be updated.
6. Click Next to accept the options and proceed to the next window, the Profile Update Frequency Setup.
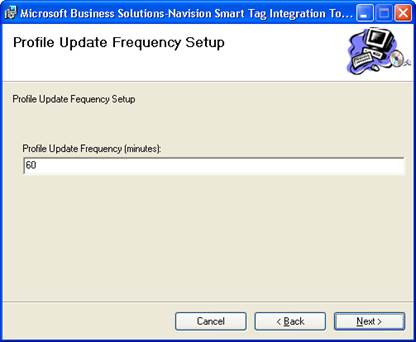
7. Use the Profile Update Frequency (minutes) field to determine how often you want the profile to be updated. The default is 60 minutes.
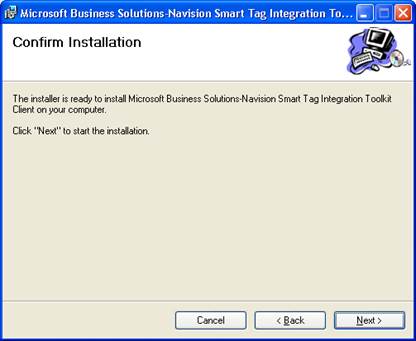
8. Click Next to open the Confirm Installation window.
9. Click Nextto install the Client.
10.
Click Next to
complete the installation
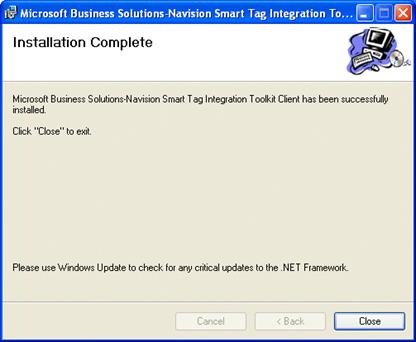
11. Click Close to exit the Install Wizard.
You have now installed the Smart Tag Integration Toolkit Client.
After installing all the programs above you need to make a few minor changes in Microsoft Business Solution – Navision 4.00.
1. Open the Smart Tag Data Tool window in Navision (Administration, IT Administration, Smart Tags, Data Tool and specify the path to the Profile.xml file in the Path to Profile File field. The installation program has already installed the file in the client folder C:\Program Files\Microsoft Business Solutions-Navision\Client, so you can copy the path from here.
2. Check that there is a check mark in both the Update Profile File check box and the Create Permissions check box.

3. Click Start.
Note When the Smart Tag Data Tool is started, the INVOKEVALUE-strings are expanded and the Profile.xml is automatically configured to use the settings known by the Navision application.
Уважаемый посетитель!
Чтобы распечатать файл, скачайте его (в формате Word).
Ссылка на скачивание - внизу страницы.