Although printing is largely the same in Microsoft Project 2000, there have been a few improvements. Most of these are found in the Page Setup dialog box. Lets take a look at them.
You can now control the size of the paper within Microsoft Project. This new option is found in the Page Setup dialog box under the Page tab. Note that you can only change paper size to one supported by the selected printer driver. If no driver is selected, this option will be disabled.
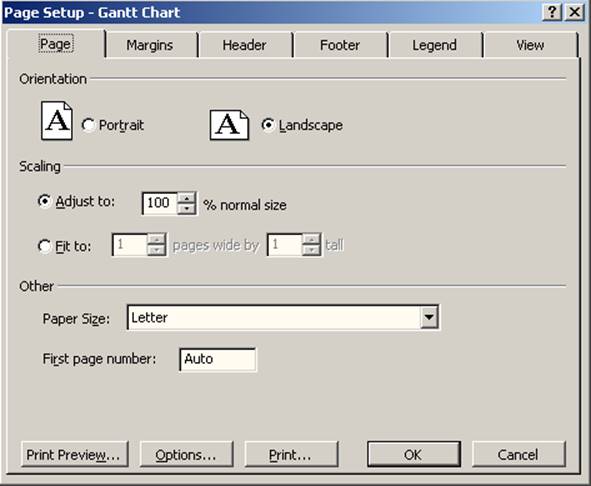
Figure 1
Right below the option to change the paper size, you will find the First Page Number option. This option allows you to start page numbers at the desired number. The default for this option is AUTO and will start page numbering at the number one.
Microsoft Project 2000 now also allows you to insert Project fields into your Headers, Footers, or Legends. This allows you to place key information about your project as a whole at the top or bottom of each page of your printed document.
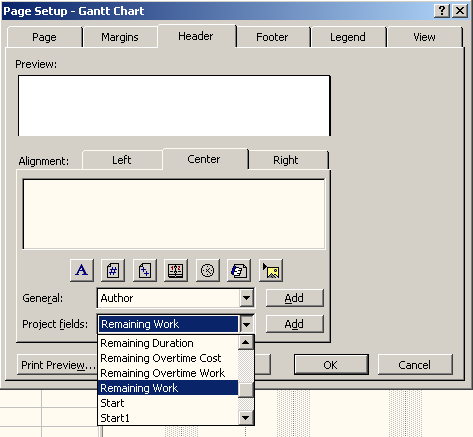
Figure 2 - Page Setup Headers
There have also been a few printing improvements behind the scenes. Features such as scaling, fit-to-page, and placement of text on a Gantt Chart timescale have all been improved.
Microsoft Project 2000 is also capable of sharing information by publishing static information to a web page. (Note that this is different than the dynamic web solution that is provided by Microsoft Project Central. We will talk about Microsoft Project Central later on in this course.) The process to save project information to a static Web page is very similar to the process in Microsoft Project 98. However, there have been a few improvements.
The first step in saving to a static Web page is to save an image of your project. This is accomplished via the copy picture command. Looking at the User Interface, there are no changes to this process. However, this option has been rewritten to allow users to create better GIF images of their project.
You are still limited to a certain size of GIF file when using Copy Picture. However the permitted size has been increased over Microsoft Project 98. You can now create a GIF image 100 inches by 100 inches in size. If you exceed this size, you are notified by the following alert.

Figure 3 - Copy Picture Options
This alert gives you two options: scale the image to size or truncate the image. The default is to scale the image. Although Microsoft Project 2000 does a better job of scaling and maintaining a readable image than Microsoft Project 98, you can create images that are too large to scale to a readable format. In some cases, truncating may be a better choice.
After creating a GIF image to save with your web page, you can create a static HTML page by selecting Save to Web Page found on the File menu. Doing so displays the following dialog box:
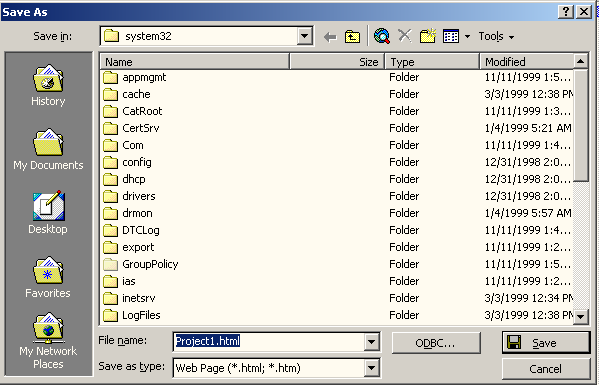
Figure 4 – Save As Web Page
Clicking Save takes you to the Export Mapping dialog box.
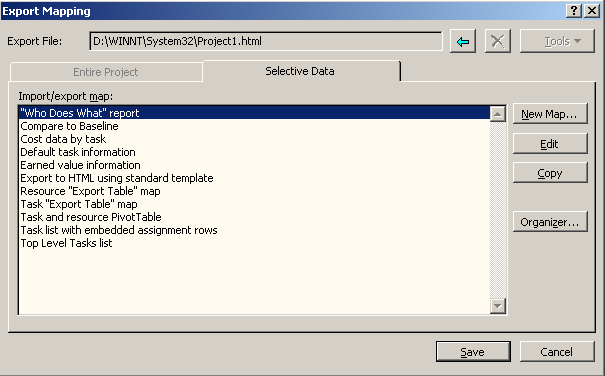
Figure 5 – Export Mapping
Although this dialog box has changed in its appearance since Microsoft Project 98, its functionality is the same. Here you can save the information that you want by selecting, editing, or creating a data map. The options available within data maps are also identical in functionality to their Microsoft Project 98 counterpart.
When you are saving a file such as a static web page, you may notice a new option. When running on Windows 9.x and Windows NT; this option is called Web Folders. On Windows 2000, this option is called My Network Places. This feature allows you to create links to locations on a network to which you can save files. Web Folders in particular allow you to save files to web servers.
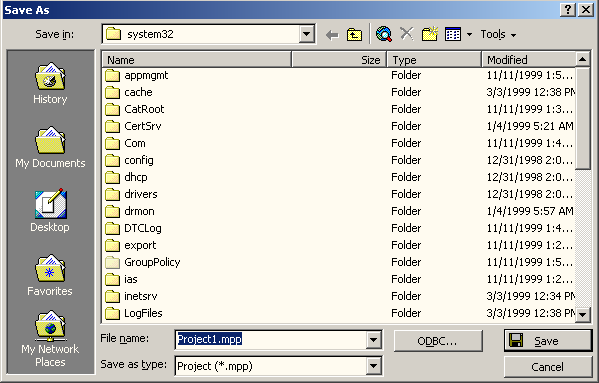
Figure 6
THIS PAGE INTENTIONALLY LEFT BLANK
Уважаемый посетитель!
Чтобы распечатать файл, скачайте его (в формате Word).
Ссылка на скачивание - внизу страницы.