|
|||||||||||
Module 1.3 |
PSS Learning Services
|
Lesson 3: Local and Upgrade Installation 61 |
Information in this document is subject to change without notice. The names of companies, products, people, characters, and/or data mentioned herein are fictitious and are in no way intended to represent any real individual, company, product, or event, unless otherwise noted. Complying with all applicable copyright laws is the responsibility of the user. No part of this document may be reproduced or transmitted in any form or by any means, electronic or mechanical, for any purpose, without the express written permission of Microsoft Corporation. If, however, your only means of access is electronic, permission to print one copy is hereby granted.
Microsoft may have patents, patent applications, trademarks, copyrights, or other intellectual property rights covering subject matter in this document. Except as expressly provided in any written license agreement from Microsoft, the furnishing of this document does not give you any license to these patents, trademarks, copyrights, or other intellectual property.
Ó 2000 Microsoft Corporation. All rights reserved.
Microsoft, Active Accessibility, ActiveX, FrontPage, MS-DOS, Outlook, PhotoDraw, PowerPoint, SQL Server, Visual Basic, Visual C++, Visual J++, Windows, and Windows are either registered trademarks or trademarks of Microsoft Corporation in the United States and/or other countries/regions.
The names of actual companies and products mentioned herein may be the trademarks of their respective owners.
This lesson discusses the installation of Microsoft® Project 2000. It also discusses rollbacks, registration and component detection.
After completing this lesson, you will be able to:
n Discuss and install Microsoft Project 2000 locally as a new application
n Discuss and install Microsoft Project 2000 locally as an upgrade
n List different system components used or upgraded by Microsoft Project 2000
n Explain the differences of installing and using Microsoft Project 2000 on different systems (Microsoft® Windows NT® vs. Microsoft Windows 9x, using Microsoft Internet Explorer vs. Netscape, etc.)
n Discuss piracy protection and registration features of Microsoft Project 2000
n Describe how rollbacks are implemented
n Describe how component detection works
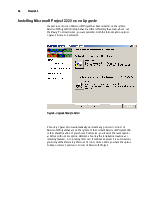
When installing Microsoft Project 2000 on a computer without a previous version of Microsoft Project.
Launching Microsoft Project 2000 setup first displays the welcome screen for the installation wizard. Here it will prompt you for a user and organization name as well as the 25-character CD key found on the back of the jewel case.
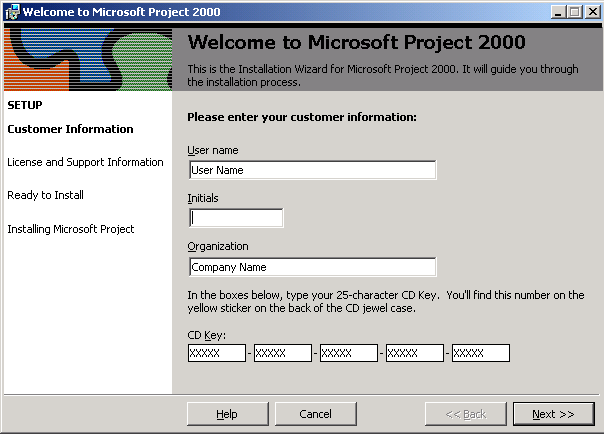
Figure 1 - Welcome Screen
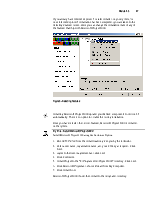
Clicking Next displays the end-user license agreement for Microsoft Project 2000. At this point you are given the choice of accepting or rejecting the agreement. If you do not accept the license agreement, setup is cancelled. To continue with setup, the user must accept the licensing agreement.
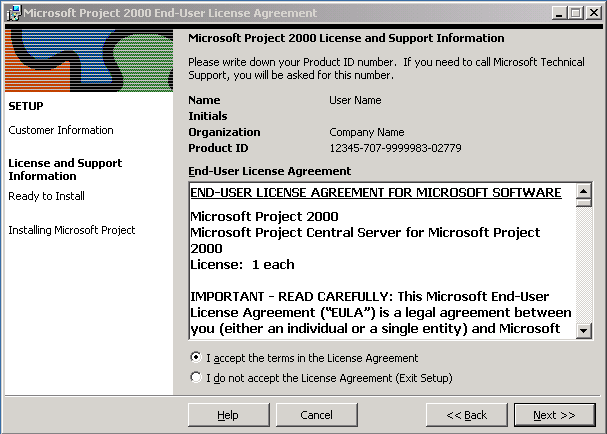
Figure 2 - End User License Agreement
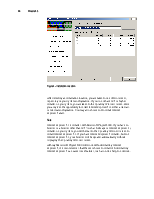
Accepting the agreement and clicking, displays the Ready To Install screen. Here you are given two options. They are “Install Now” and “Customize.” The first option installs Microsoft Project 2000 in the default location with the default options. The default location is “C:\Program Files\Microsoft Office\”. If Office 2000 or one of its applications is installed on the system, the default folder is the folder in which Office 2000 is installed.
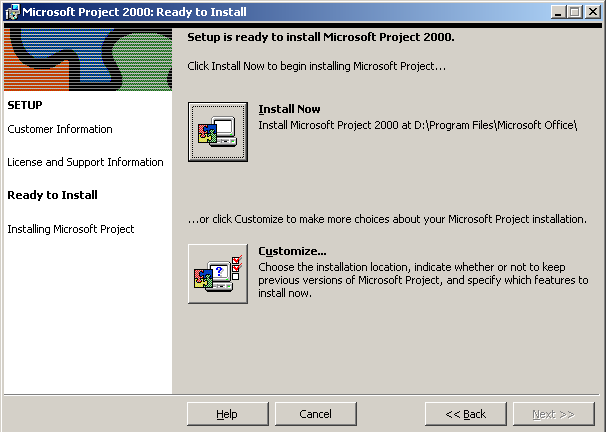
Figure 3 - Ready to Install
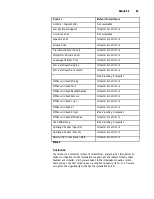
By choosing Install Now, you not only accept the default installation location, you also accept for only the default features to be installed in their default state. For Microsoft Project 2000, the following features are installed as noted when Install Now is chosen.
Уважаемый посетитель!
Чтобы распечатать файл, скачайте его (в формате Word).
Ссылка на скачивание - внизу страницы.